gitlab-13.4.1版本centos7部署
gitlab-13.4.1版本centos7部署
官网:
https://packages.gitlab.com/gitlab/gitlab-ce/install#bash-rpm
版本:
GitLab 9.3.6
GitLab Shell 5.1.1
GitLab Workhorse v2.1.1
GitLab API v4
Git 2.13.0
Ruby 2.3.3p222
Rails 4.2.8
postgresql 9.6.3
参考地址:https://www.cnblogs.com/kevingrace/p/5985918.html
配置要求:
cpu : 2核心 支持500用户,这也是官方推荐的最低标准。
内存 : 4GB 物理内存 支持100用户,也是 官方推荐 的配置。
实际使用:
centos7.9
2核8G
Gitlab目录结构
/opt/gitlab/ # 主目录
/etc/gitlab/ # 放置配置文件
/var/opt/gitlab/ # 各个组件
/var/log/gitlab/ # 放置日志文件
/var/opt/gitlab/git-data/repositories #数据库的地址
/var/opt/gitlab/postgresql/data #gitlab组和项目的地址
/etc/gitlab/gitlab.rb #gitlab配置文件
1 安装依赖
安装Gitlab必要的依赖项,还将在系统防火墙中打开HTTP和SSH访问
安装命令:yum install -y curl policycoreutils-python openssh-server
激活命令:systemctl enable sshd
启用命令:systemctl start sshd
防火墙命令:firewall-cmd –permanent–add-service=http && systemctl reload firewalld
安装Postfix以发送通知电子邮件
安装命令:yum install postfix
激活命令:systemctl enable postfix
启用命令:systemctl start postfix
执行命令
yum install -y curl policycoreutils-python openssh-server
systemctl start sshd
2 安装rpm包
下载地址:https://mirrors.tuna.tsinghua.edu.cn/gitlab-ce/yum/el6/
cd /opt
wget https://mirrors.tuna.tsinghua.edu.cn/gitlab-ce/yum/el6/gitlab-ce-13.4.1-ce.0.el6.x86_64.rpm
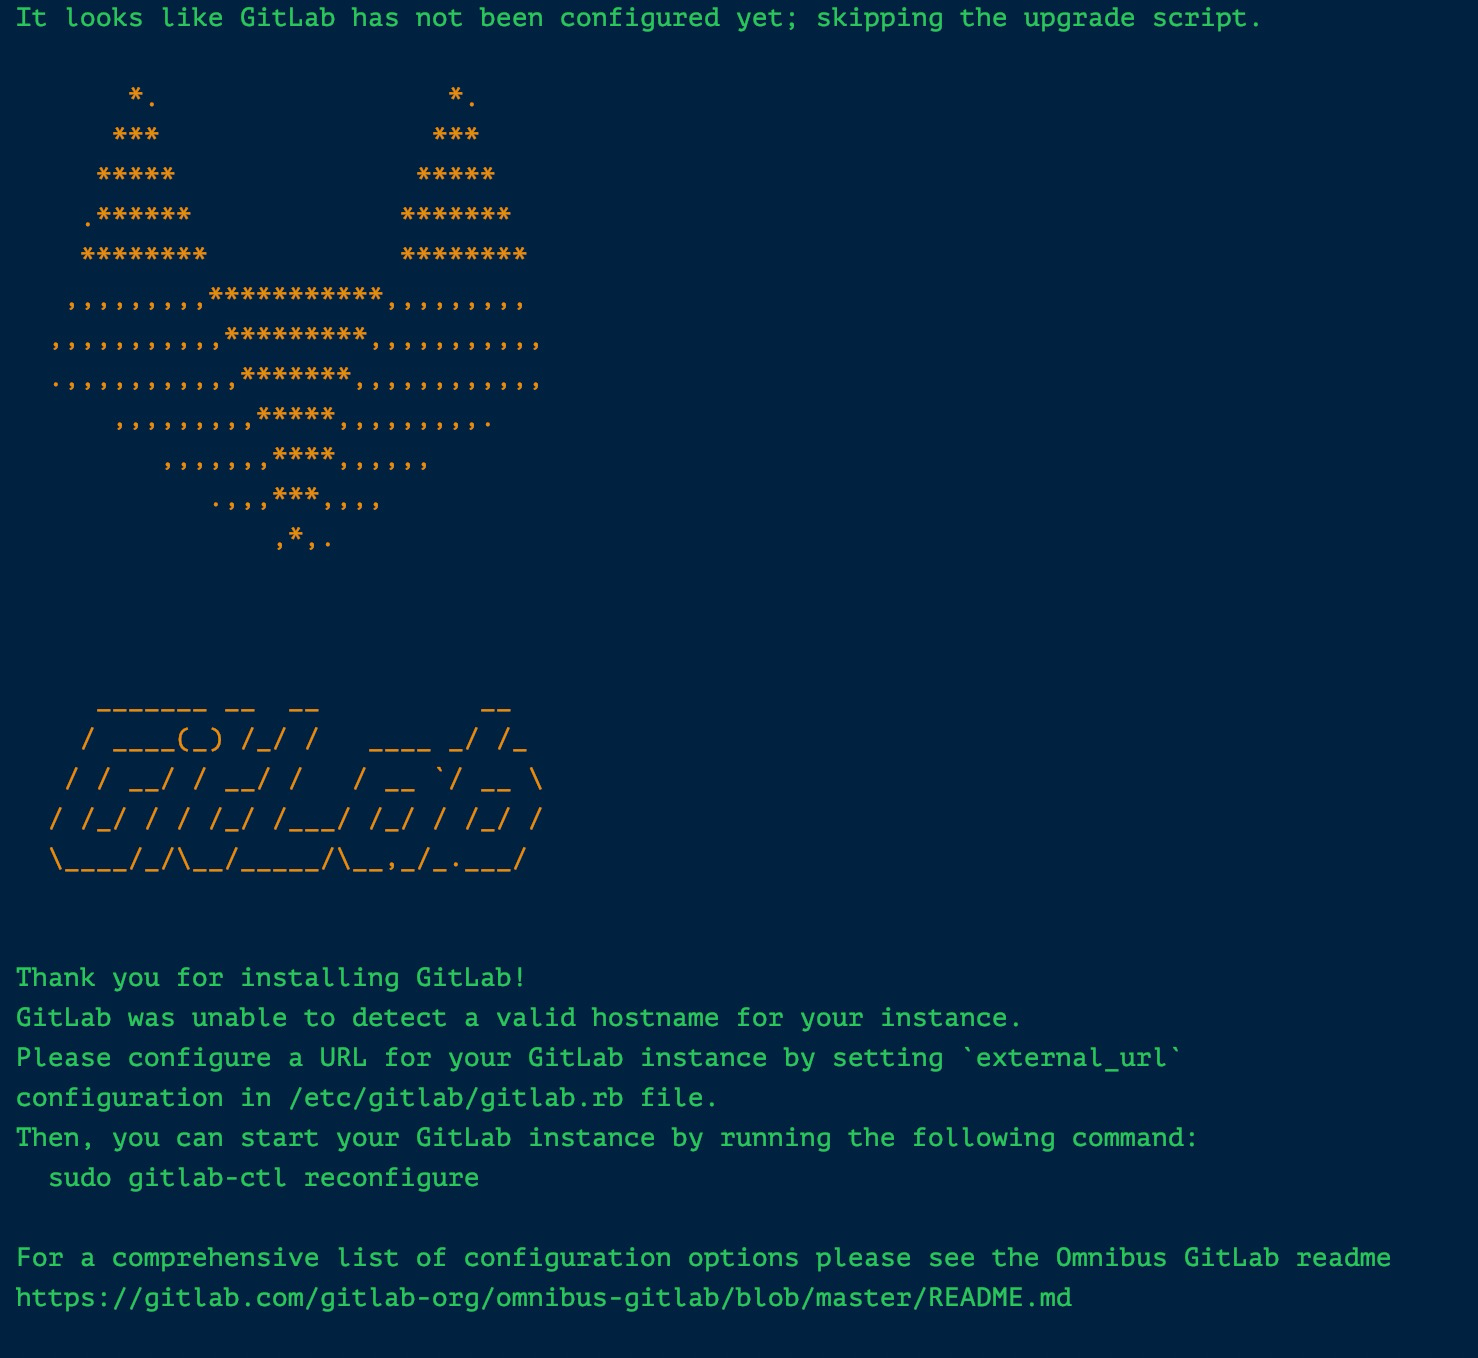
rpm -ivh gitlab-ce-13.4.1-ce.0.el6.x86_64.rpm
出现下图则安装完成
3 编辑主配置文件
vim /etc/gitlab/gitlab.rb
# 指定host地址(此处改成自己的ip)
external_url = 'http://192.168.28.131'
# 修改端口
unicorn['port'] = 18080
可选:修改Gitlab数据存储路径
#找到git_data_dir "/var/opt/gitlab/git-data"修改为
git_data_dir "/gitlab"
#有可能配置文件的数据存储路径是这样的,
#git_data_dirs({ "default" => { "path" => "/var/opt/gitlab/git-data" } }) 修改为
git_data_dirs({ "default" => { "path" => "/gitlab } })
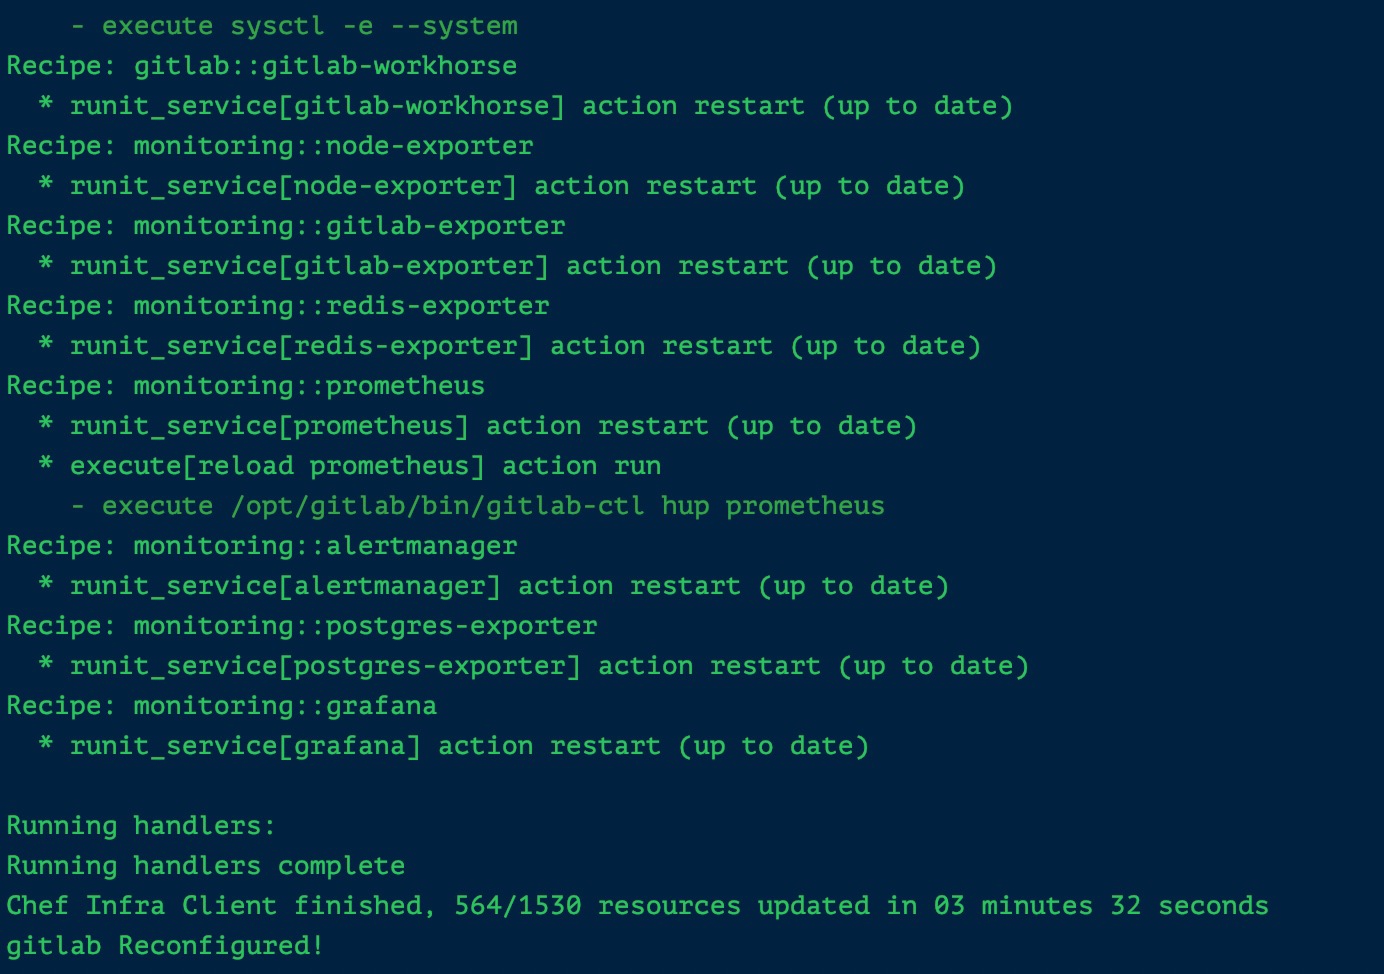
4 修改完配置文件,需要重新加载
需要耐心等待5分钟左右
gitlab-ctl reconfigure
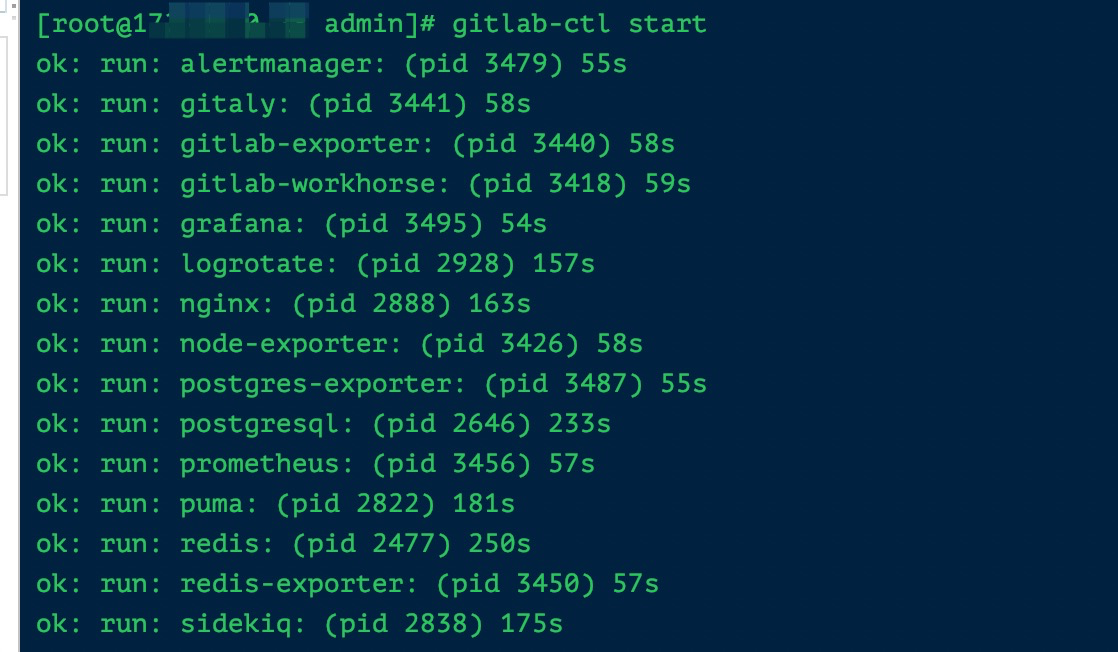
5 启动GitLab
gitlab-ctl start
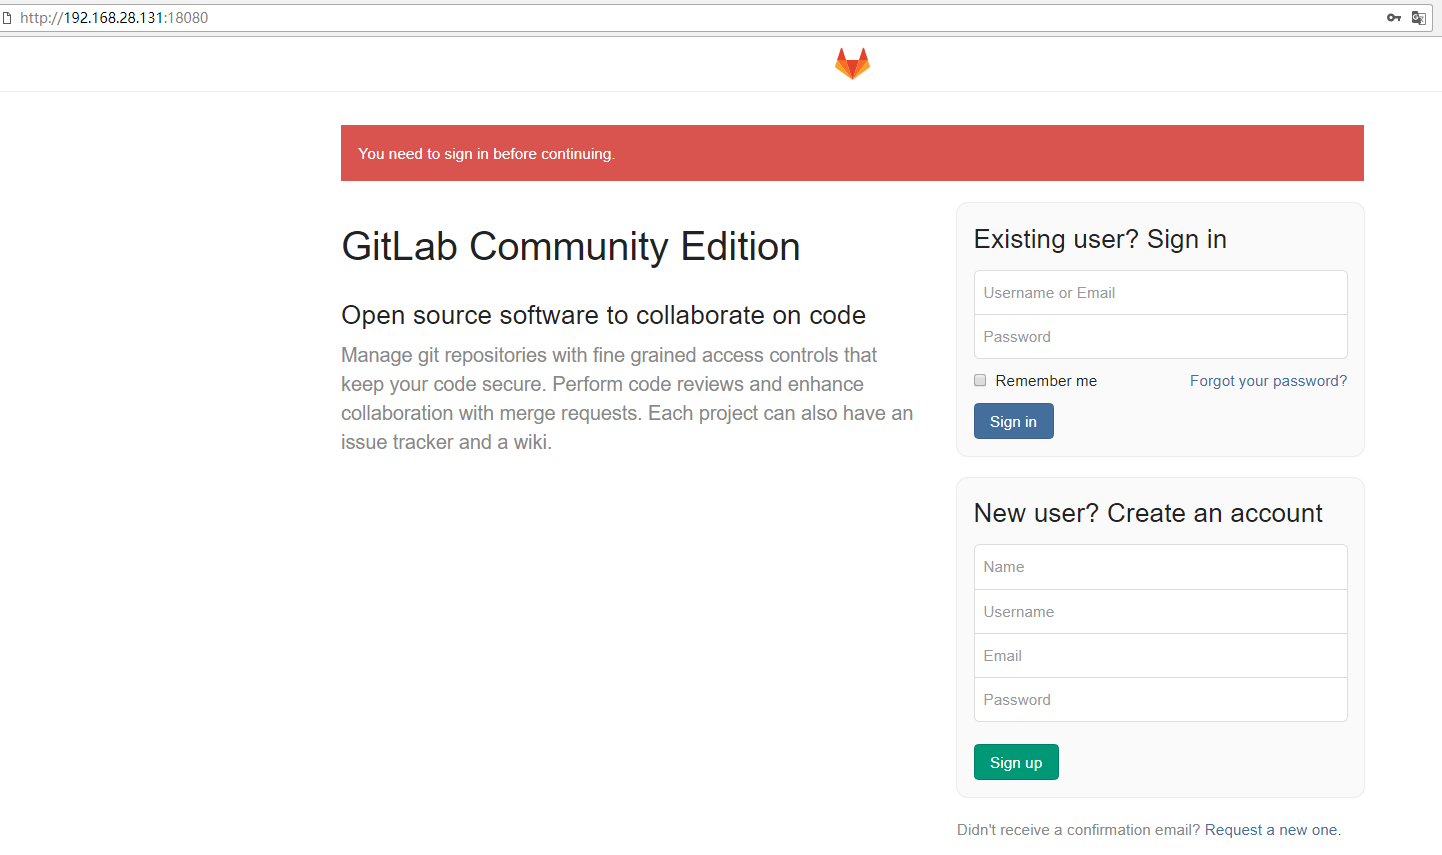
6 登录GitLab
打开浏览器,输入ip:18080
7 默认用户密码 第一次登录需要修改密码
账号: root
初始密码: 5iveL!fe- 感谢你赐予我前进的力量


